You might have heard about Whistler. Whether it is because you are a mountain biker and have heard that their bike park is ranked no. 1 in the world. Or, you love to ski and come to explore Whistler and Blackcomb mountains with the amazing views from the Peak 2 Peak gondola (which is the longest free span gondola at 2 miles from base to base). While mountain biking and skiing are great, I love Whistler for the endless hiking trails. Hiking trails to epic alpine lakes, beautiful waterfalls and along gorgeous rivers, while meandering through the forest. As you start planning your summer vacation, make sure to put a few of these on the Whistler Vacation Itinerary!
A few tips before before setting out on that hike in Whistler:
- Most trails in the Whistler area are not dog friendly. Make sure to check before you go. There are a few and our favorite is listed!
- Please remember to practice Leave No Trace. Respect the area you are visiting.
- Be Bear Aware! This is bear country! Remember a bear bell or bear spray. You might think that because it is busy they will not be around. Think again. We ran across one in the parking lot in Whistler village!
- DO NOT feed or approach any animals. Marmots are so cute, but they don’t care about your granola bar.
The Best Hikes in Whistler, Canada
The hiking here is epic. Some of the best trails we have been in while traveling around North America. Here are our hikes that we think should be at the top of your list of hikes to explore in Whistler, Canada.
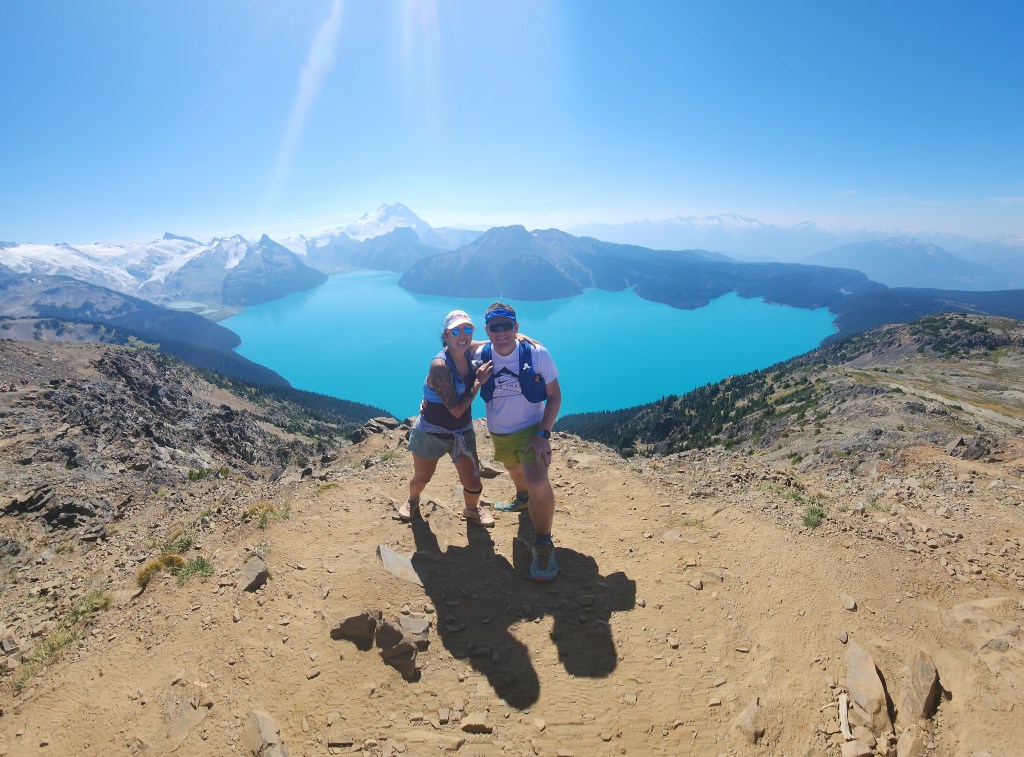
Panorama Ridge Trail
Miles: 18 ♦ Elevation Gain: 5,272′ ♦ Trail Type: Out and Back ♦ Trail Difficulty: Hard/Strenuous
This trail is long and considered strenuous. Be aware of your abilities with this one as you get pretty remote. Parts of the hike are quite exposed so bringing plenty of water and nutrition is a must. The main view is Panorama Ridge where you get a panorama view of Garibaldi lake. The bluest lake you will ever see! However, before you get to the view you also get a view of Black Tusk and it is almost just as good!
There were a few places to grab water if you have a filter, but don’t rely on it being available. Bring plenty of water. Always. This trail can be a bit easier if you are camping at Garibaldi Lake.


Getting to the Trailhead: 25 minutes south of Whistler is Rubble Creek Trailhead. There are three sections but on a weekend and during the summer it fills up quick and you may have to park along the road if is allowed. We saw people getting tickets. It fills up because this is also the trailhead for Garibaldi Lake.
Coordinates: 49.957783, -123.120556 – You could fit a 22′ van or RV. I wouldn’t tow, nor would I go if you have anything bigger.
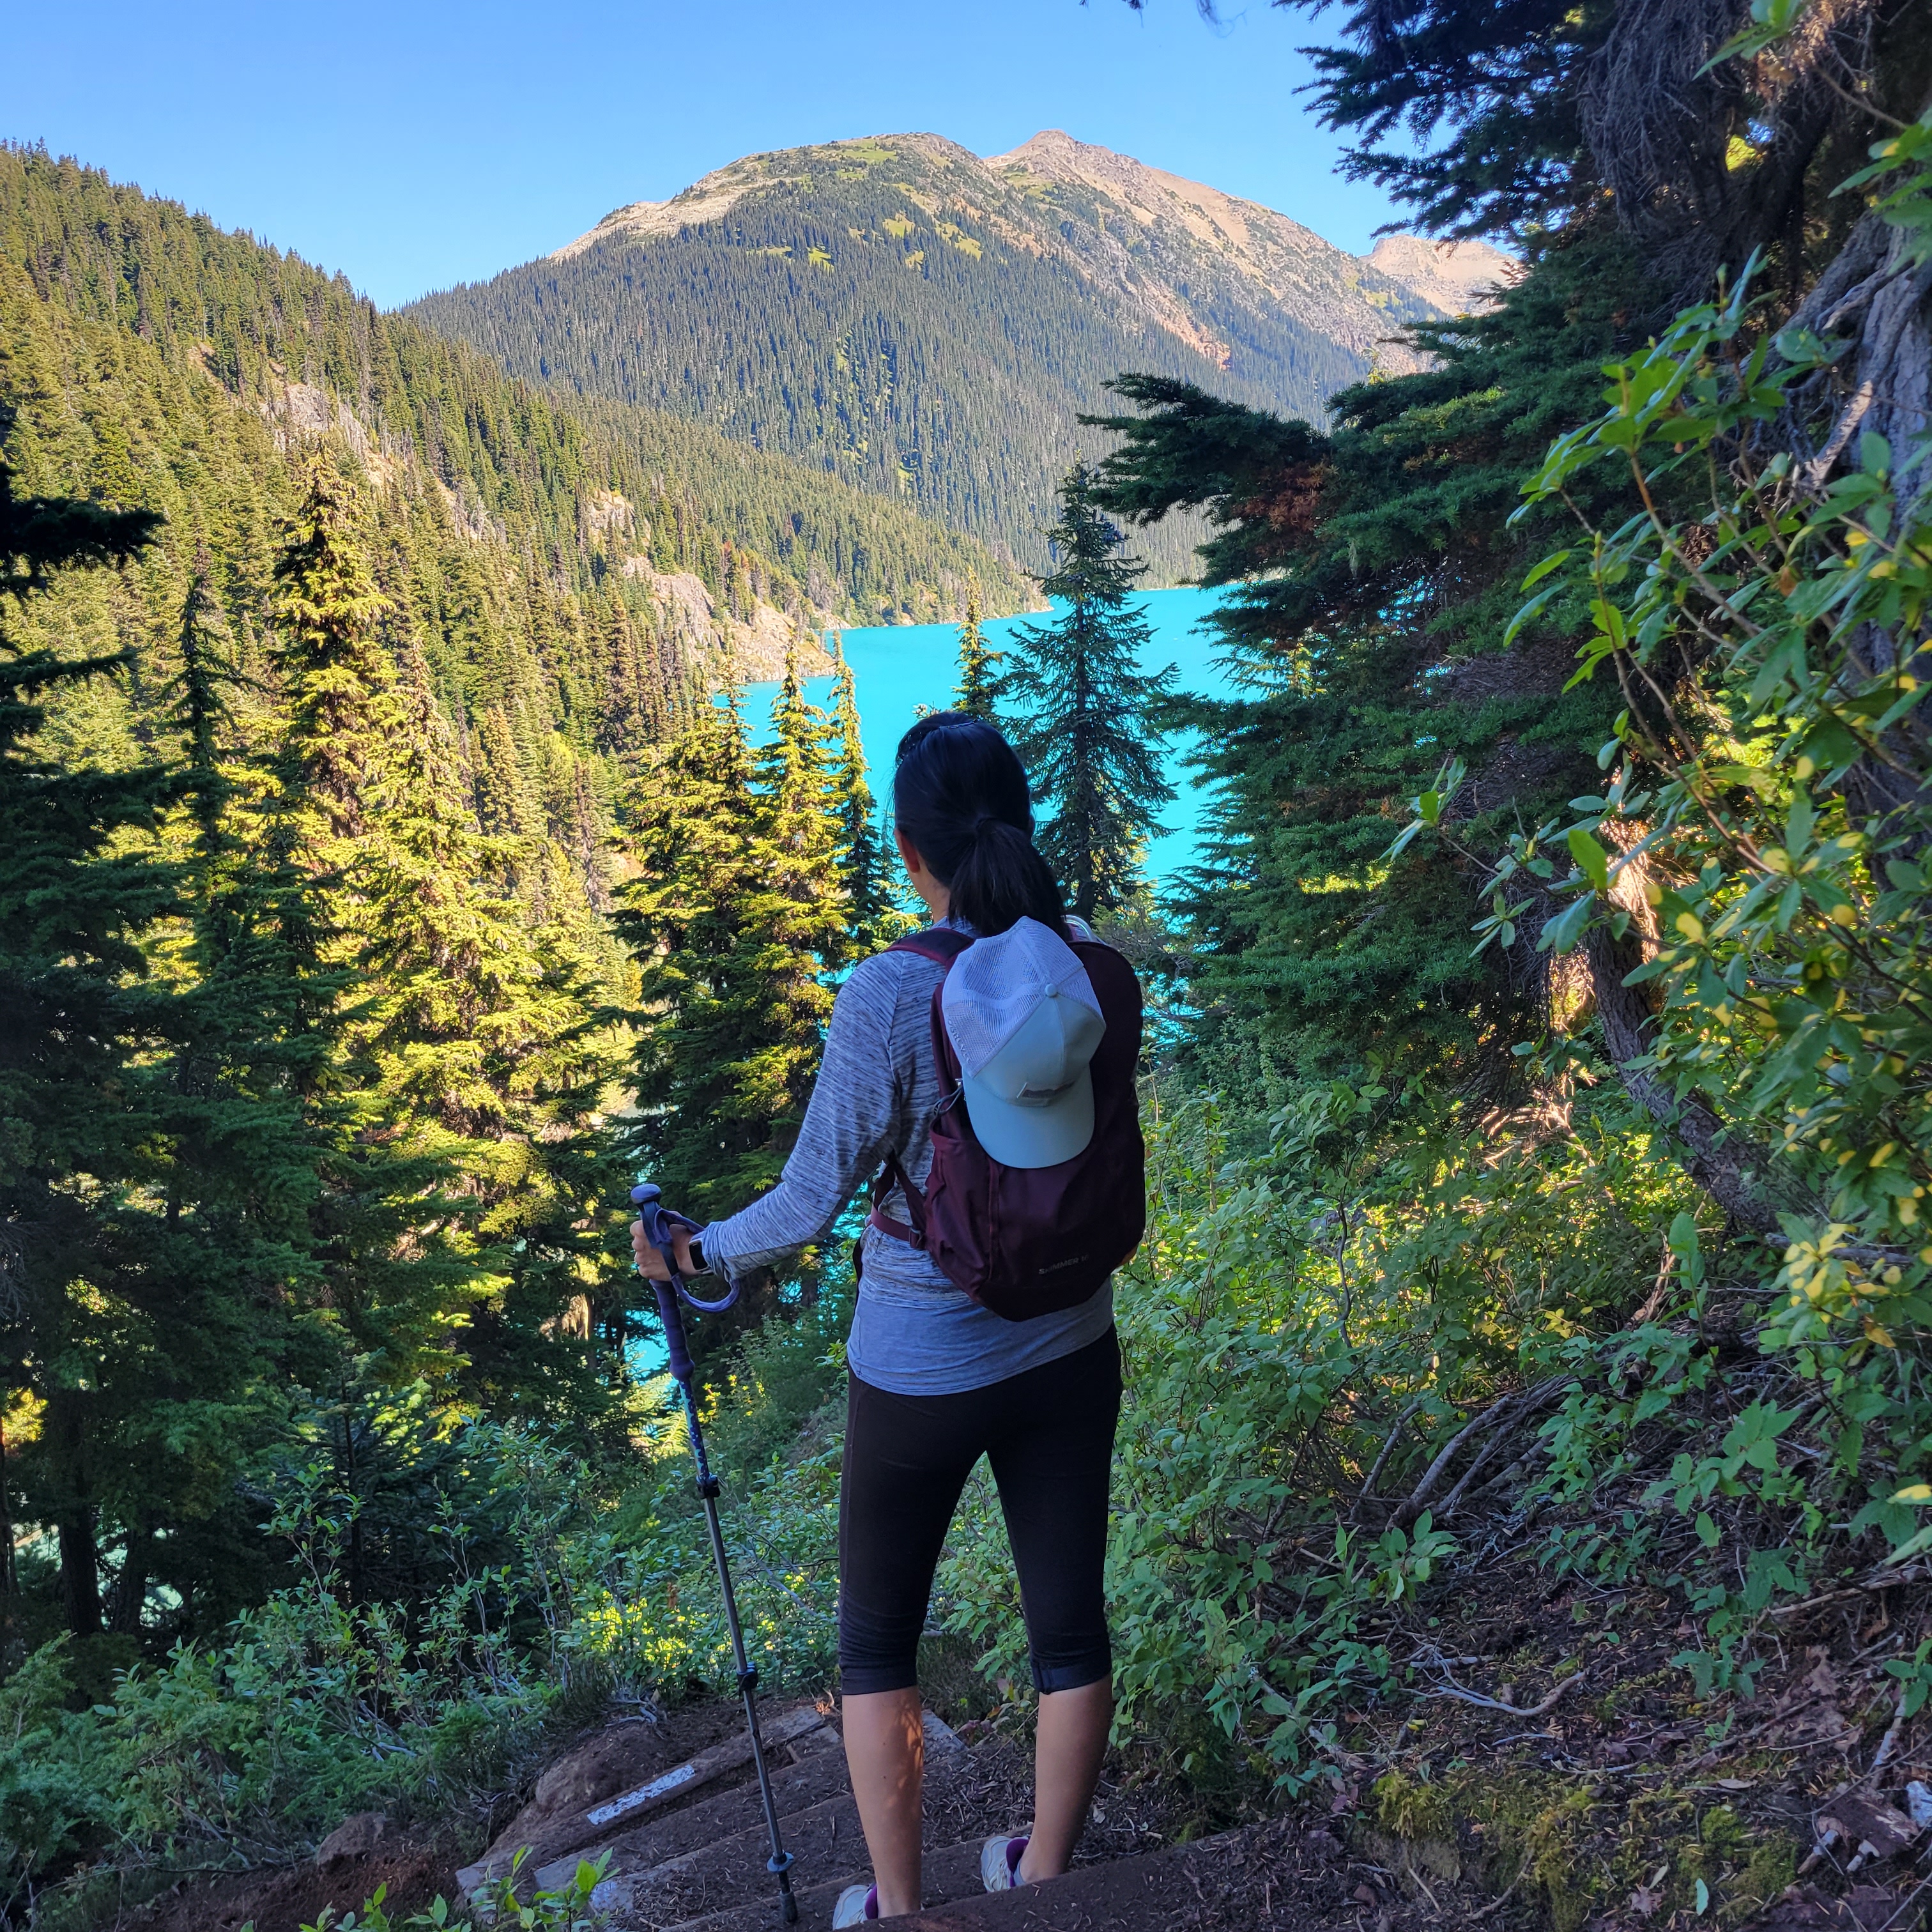
Garibaldi Lake Trail
Miles: 12 ♦ Elevation Gain: 3,445′ ♦ Trail Type: Out and Back ♦ Trail Difficulty: Hard
The hike and the lake at the end make this one of the best hikes out there. If you are looking for a challenge, then this is great. The entire hike is beautiful and then there are multiple places when you get to the lake to have a snack or get into the lake. The campground is one of the best we have seen. With individual platforms and access to the water, a few had an amazing view.

I truly loved every bit of this hike. The miles seemed to go by since there were multiple attractions along the way.


Getting to the Trailhead: As I mentioned about this is the same trailhead for Panorama Ridge. See notes above.
Coordinates: 49.957783, -123.120556
High Note Trail
Miles: 5.5 ♦ Elevation Gain: 1,100′ ♦ Trail Type: Point to Point ♦ Trail Difficulty: Moderately Hard
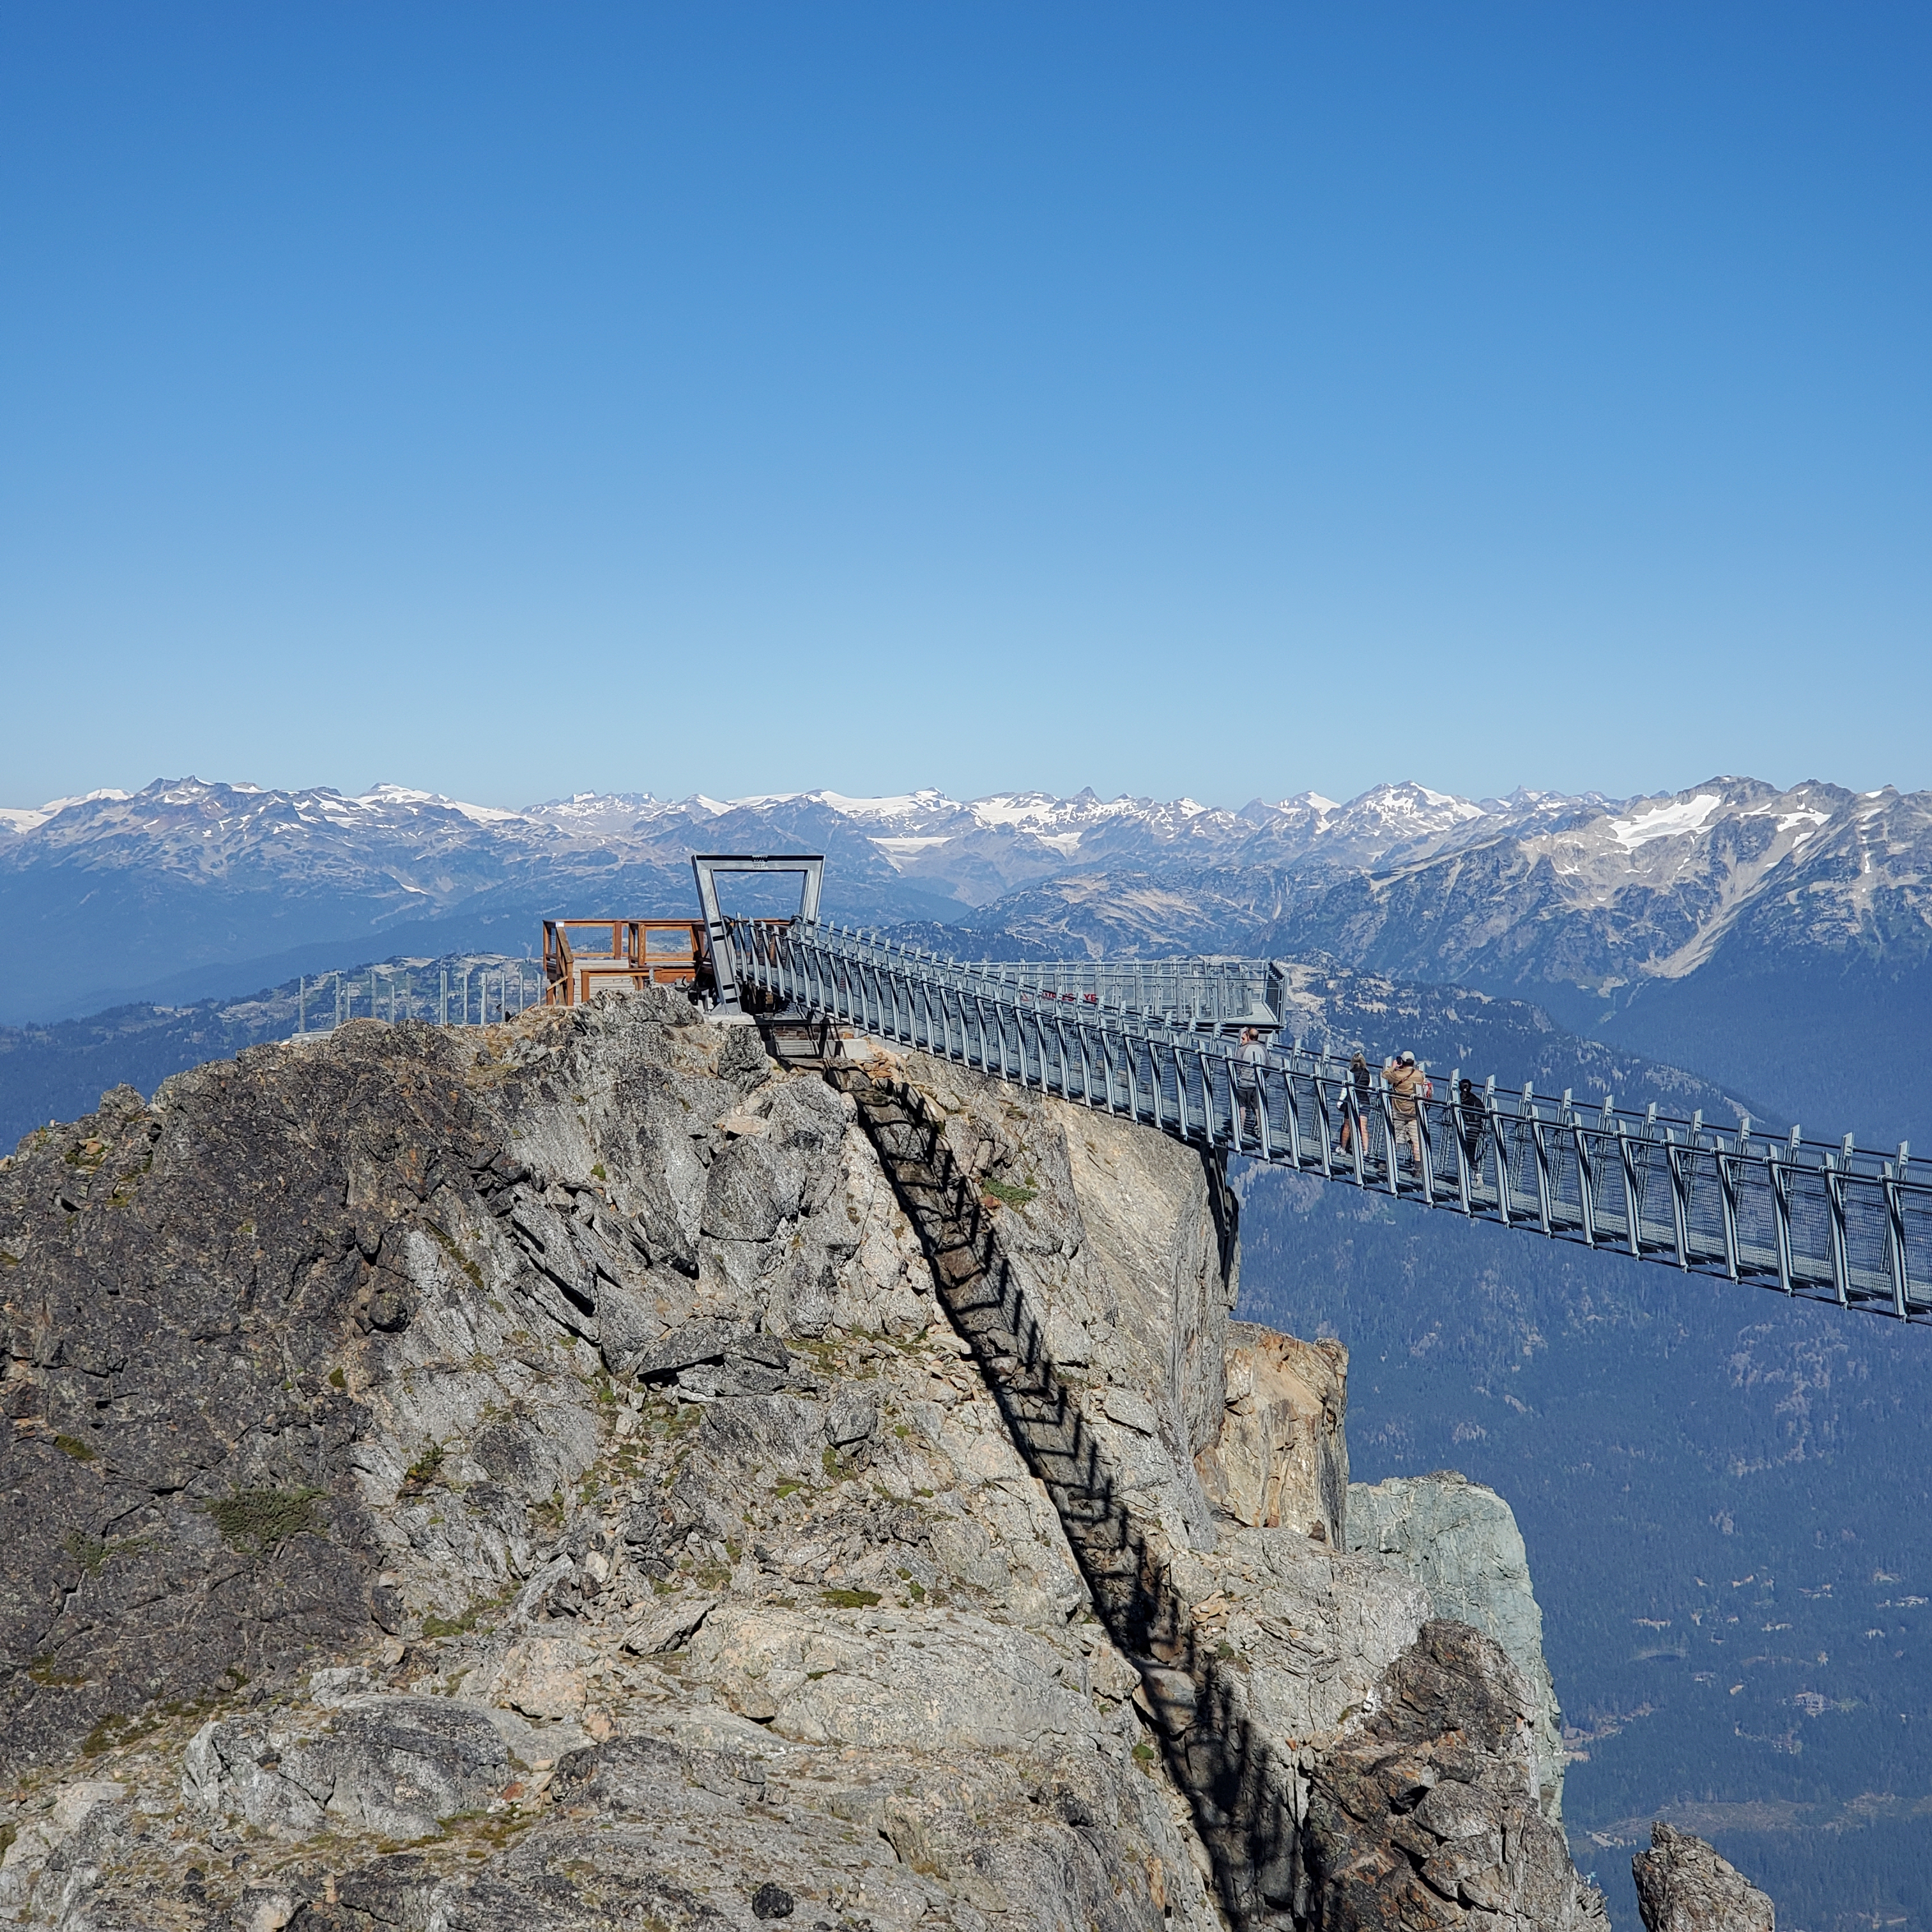
This trail was so much fun! First off, it starts at the top of the mountain and I am not as motivated to climb a mountain to start. So to get to the trailhead you have to take 3 gondolas and one of them is the Peak to Peak! The fun doesn’t stop there. The trail actually starts by walking across a suspension bridge. I was a bit nervous about this but one side doesn’t look too high so we just looked one way and it was very sturdy.

This trail had it all. A fun suspension bridge, a view of the beautiful Cheakamus Lake, elevation gain, climbing rocks, boardwalks and Holly Lake. The the last amazing this is that you can end this hike at the Roadhouse Lodge and get a bite to eat before you head down on the gondola. You do have to watch your time on this. Read our full blog post about gondola timing so you don’t end up at the top and miss the last gondola down! CLICK HERE There was a lot of info out about this but it mostly was confusing to me. I hope I laid it out to make it as easy as can be.


Getting to the Trailhead: Parking is at Whistler Village Day Lot 3 Oversized for RVs (Coordinates: 50.117022, -122.952924) and I would park in Day Lot 2 (Coordinates: 50.115950, -122.952354) if you just have a car.
Lost Lake Trail
Miles: 5.5 ♦ Elevation Gain: 1,100′ ♦ Trail Type: Point to Point ♦ Trail Difficulty: Easy
A dog friendly trail in Whistler, Canada! While you won’t get the views from climbing a mountain, you will get an amazing hike through the forest to a beautiful lake.

Getting to the Trailhead: The two best places to access Lost Lake is, (1) Whistler Village (Follow the parking for the High Note Trailhead above) or (2) Or at Riverside RV Resort, you can pick up the trail right from the Campground.
The next hikes on our list when we are in Whistler, Canada:
Wedgemount Trail
Sprite Lake Trail
Elfin Trail
We will continue to update this post to add more hikes! So make sure to follow along to get all the updates!
Love to pin, use this one!


